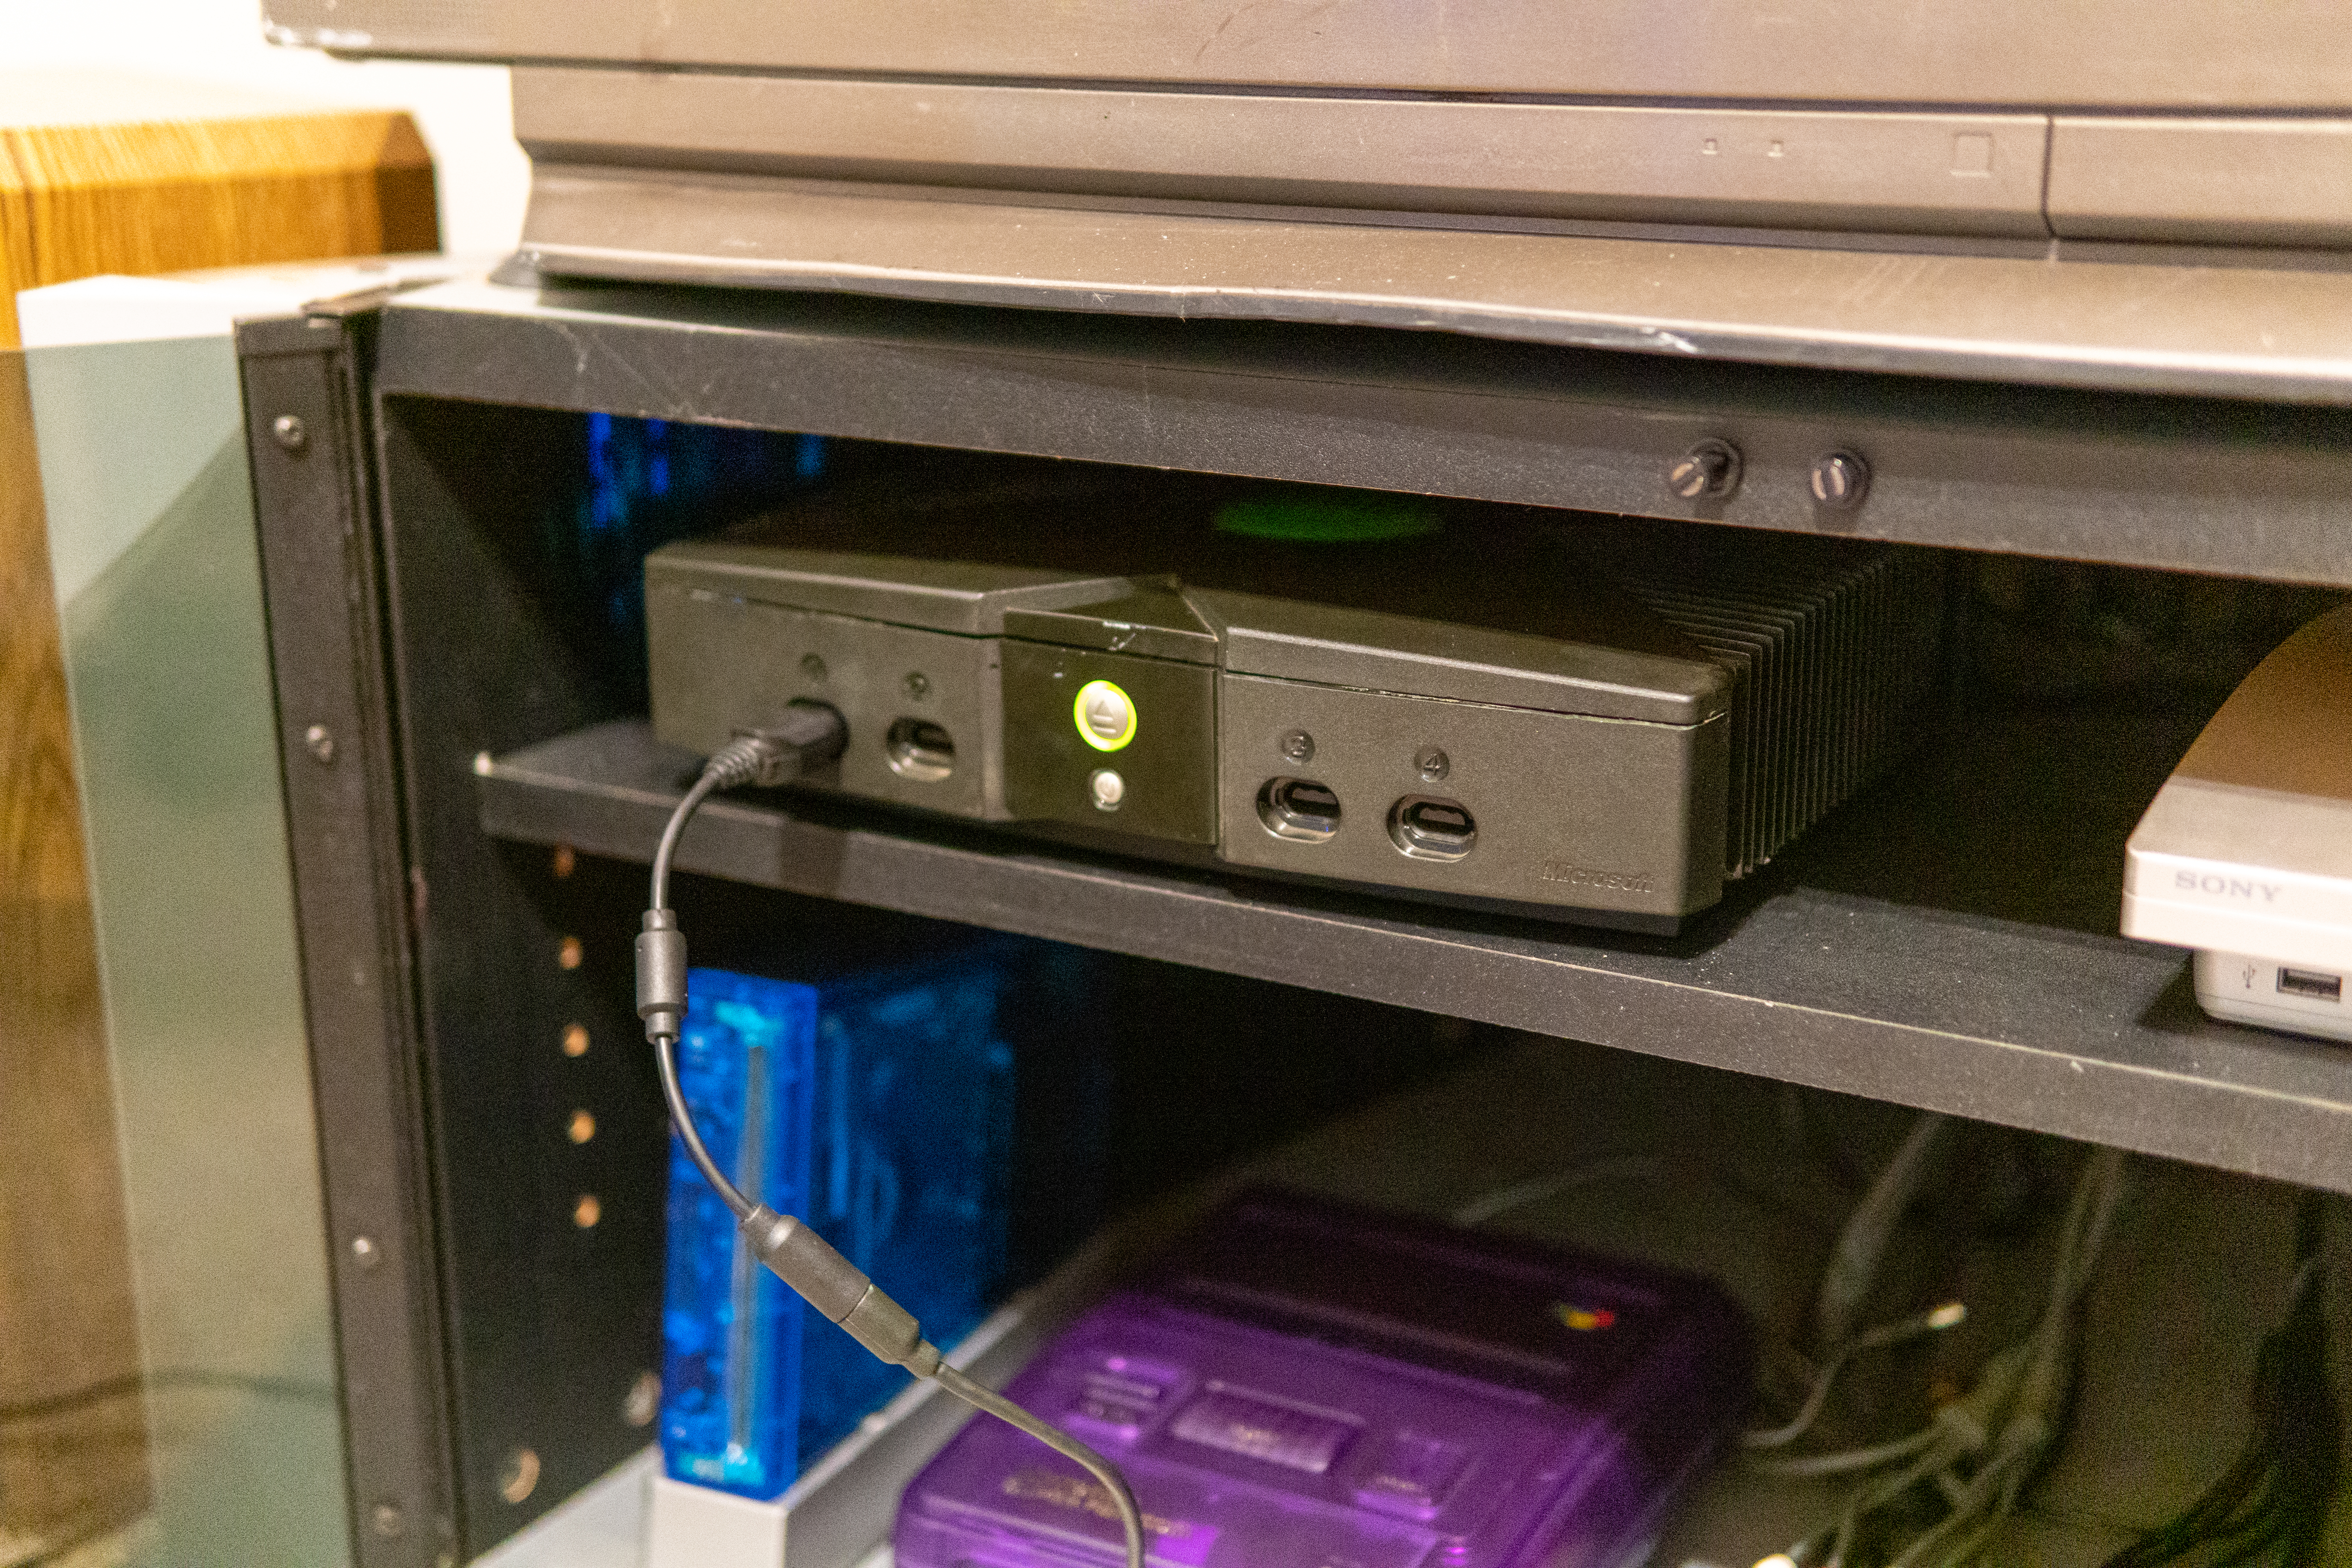
Reviving the $20 Xbox
Published
I picked up a broken Xbox for parts to repair my trusty old one and ended up not needing anything from it. This little fella was pretty crosty. Reeked of cigarette smoke and pretty dirty.


There was some gnarly corrosion around the clock capacitor - we jumped straight to drastic measures and tossed it in the ultrasonic bath with some vinegar then dried it out in my toaster oven (only at like 150°F). It was really satisfying seeing all the corrosion just dissolve off the board in seconds.
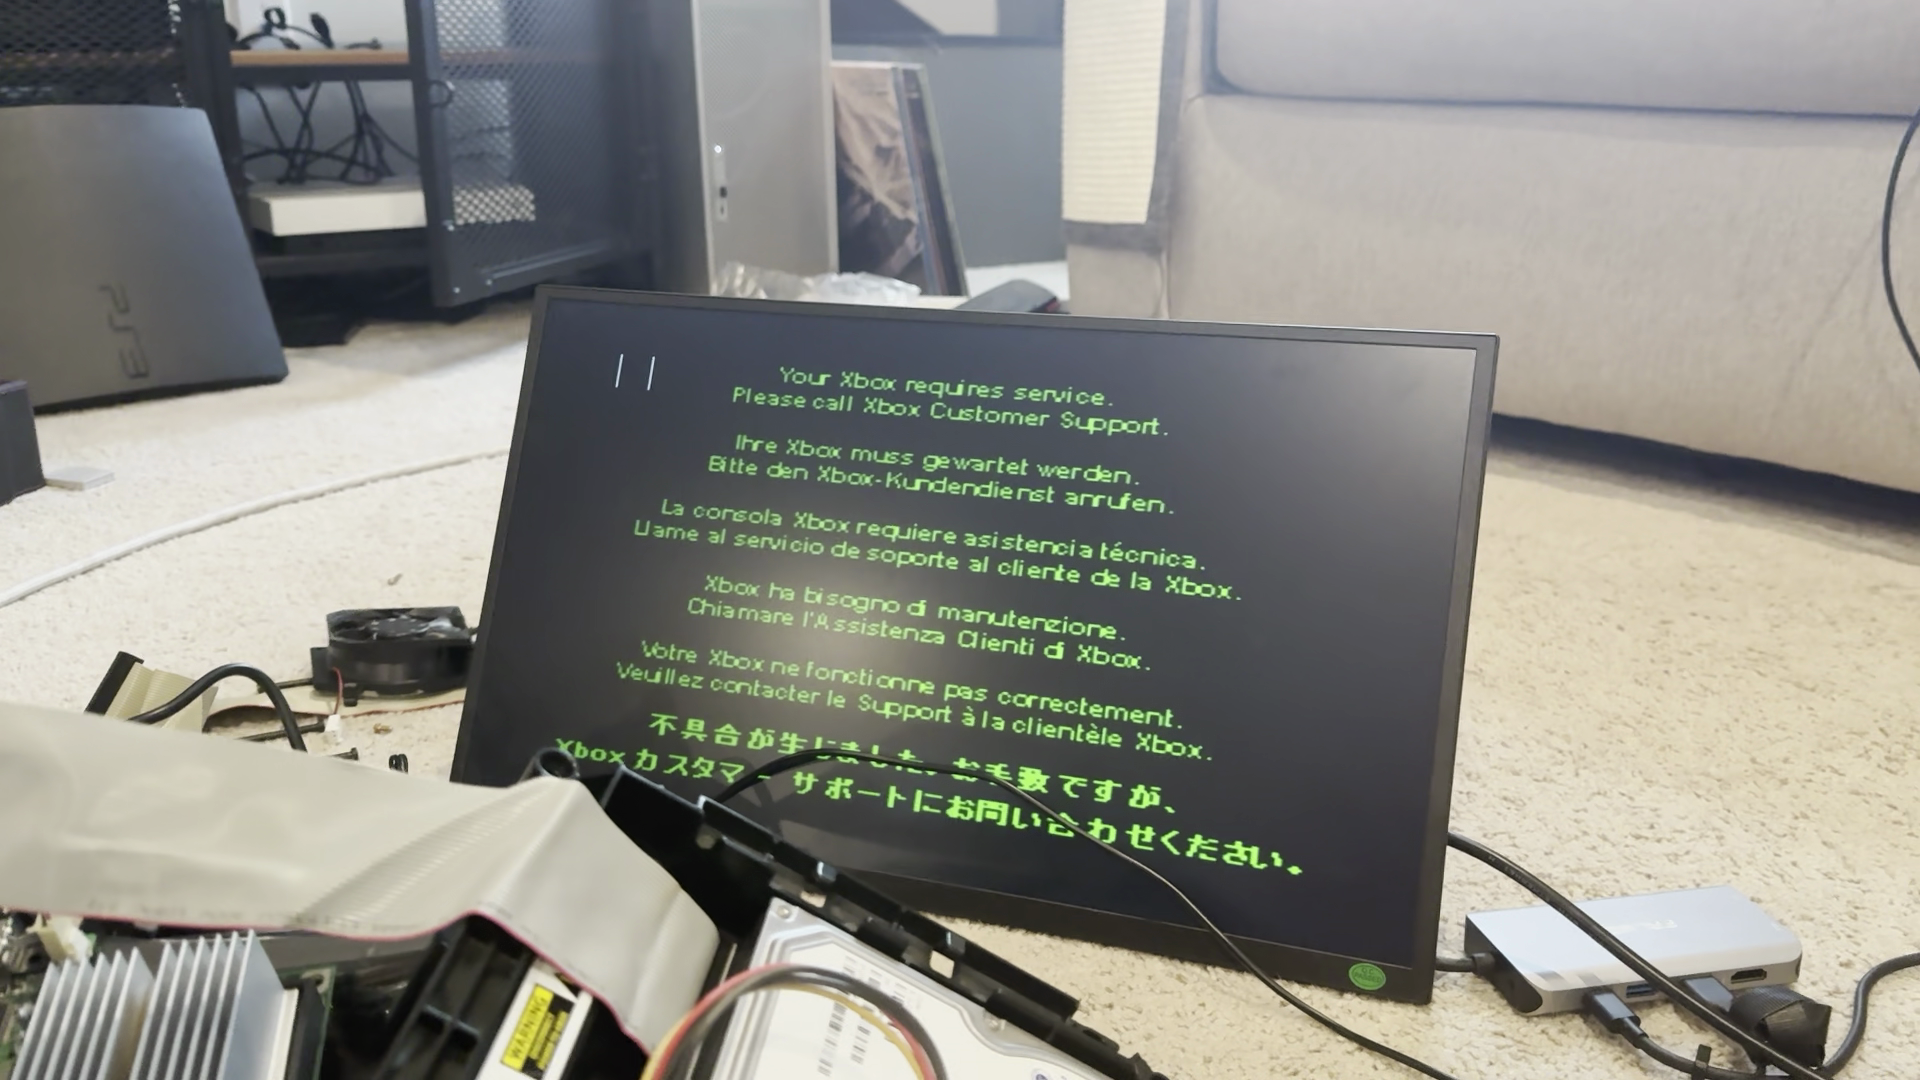
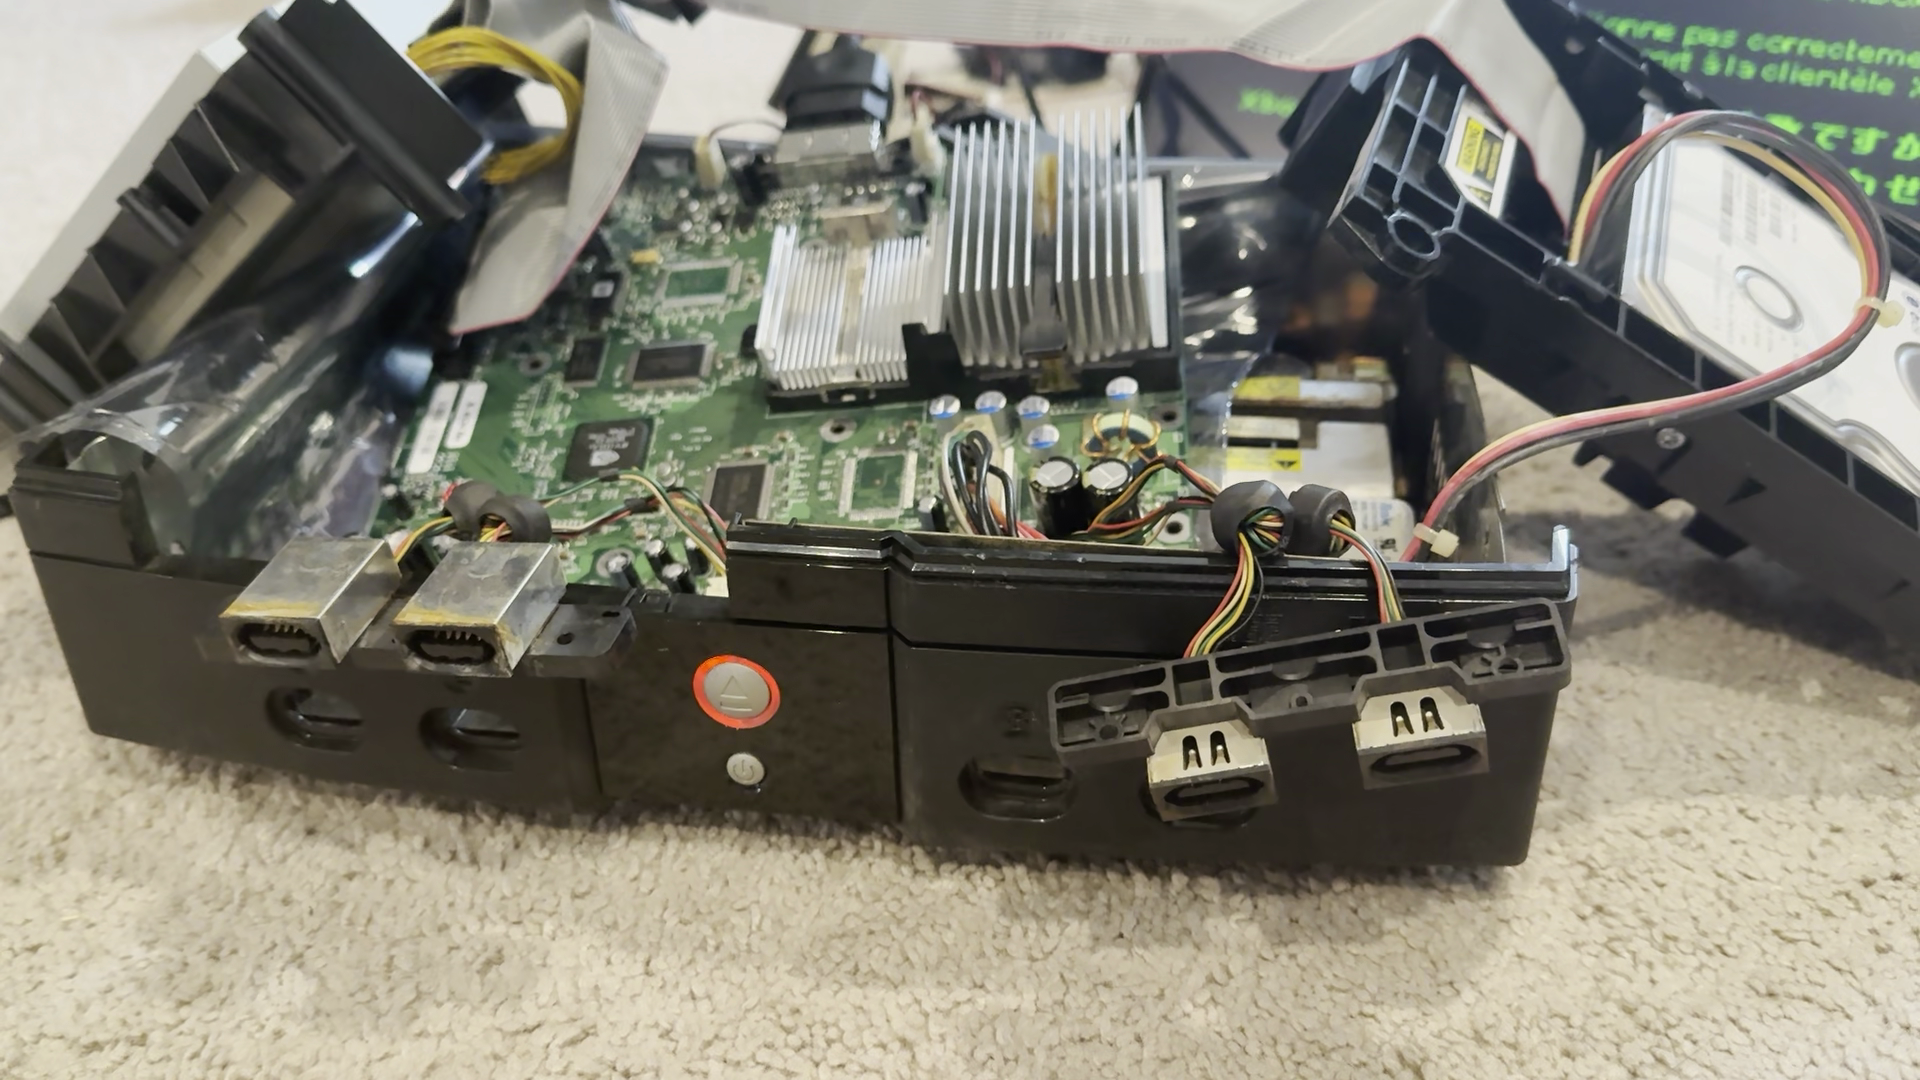

The Xbox booted into the service screen with error code 11, indicating a faulty optical drive. I was able to confirm that it worked fine with the DVD drive from my other Xbox so that made narrowing it down pretty easy. Replacing the capacitors in the drive's logic board didn't remedy the situation and replacement drives are outlandishly expensive, so sadly I relegated this Xbox to a digital-only existence.
The original Xbox won't boot without a somewhat-functioning DVD drive connected, meaning I would need to do my first modchip install to make it usable. I ordered a cheap Modxo unit from AliExpress and waited a couple of weeks.


Did some soldering... aaaand I plugged the modchip in backwards. That fried it. Back to AliExpress and another 3-week wait because my local USPS hub was going through some renovations.
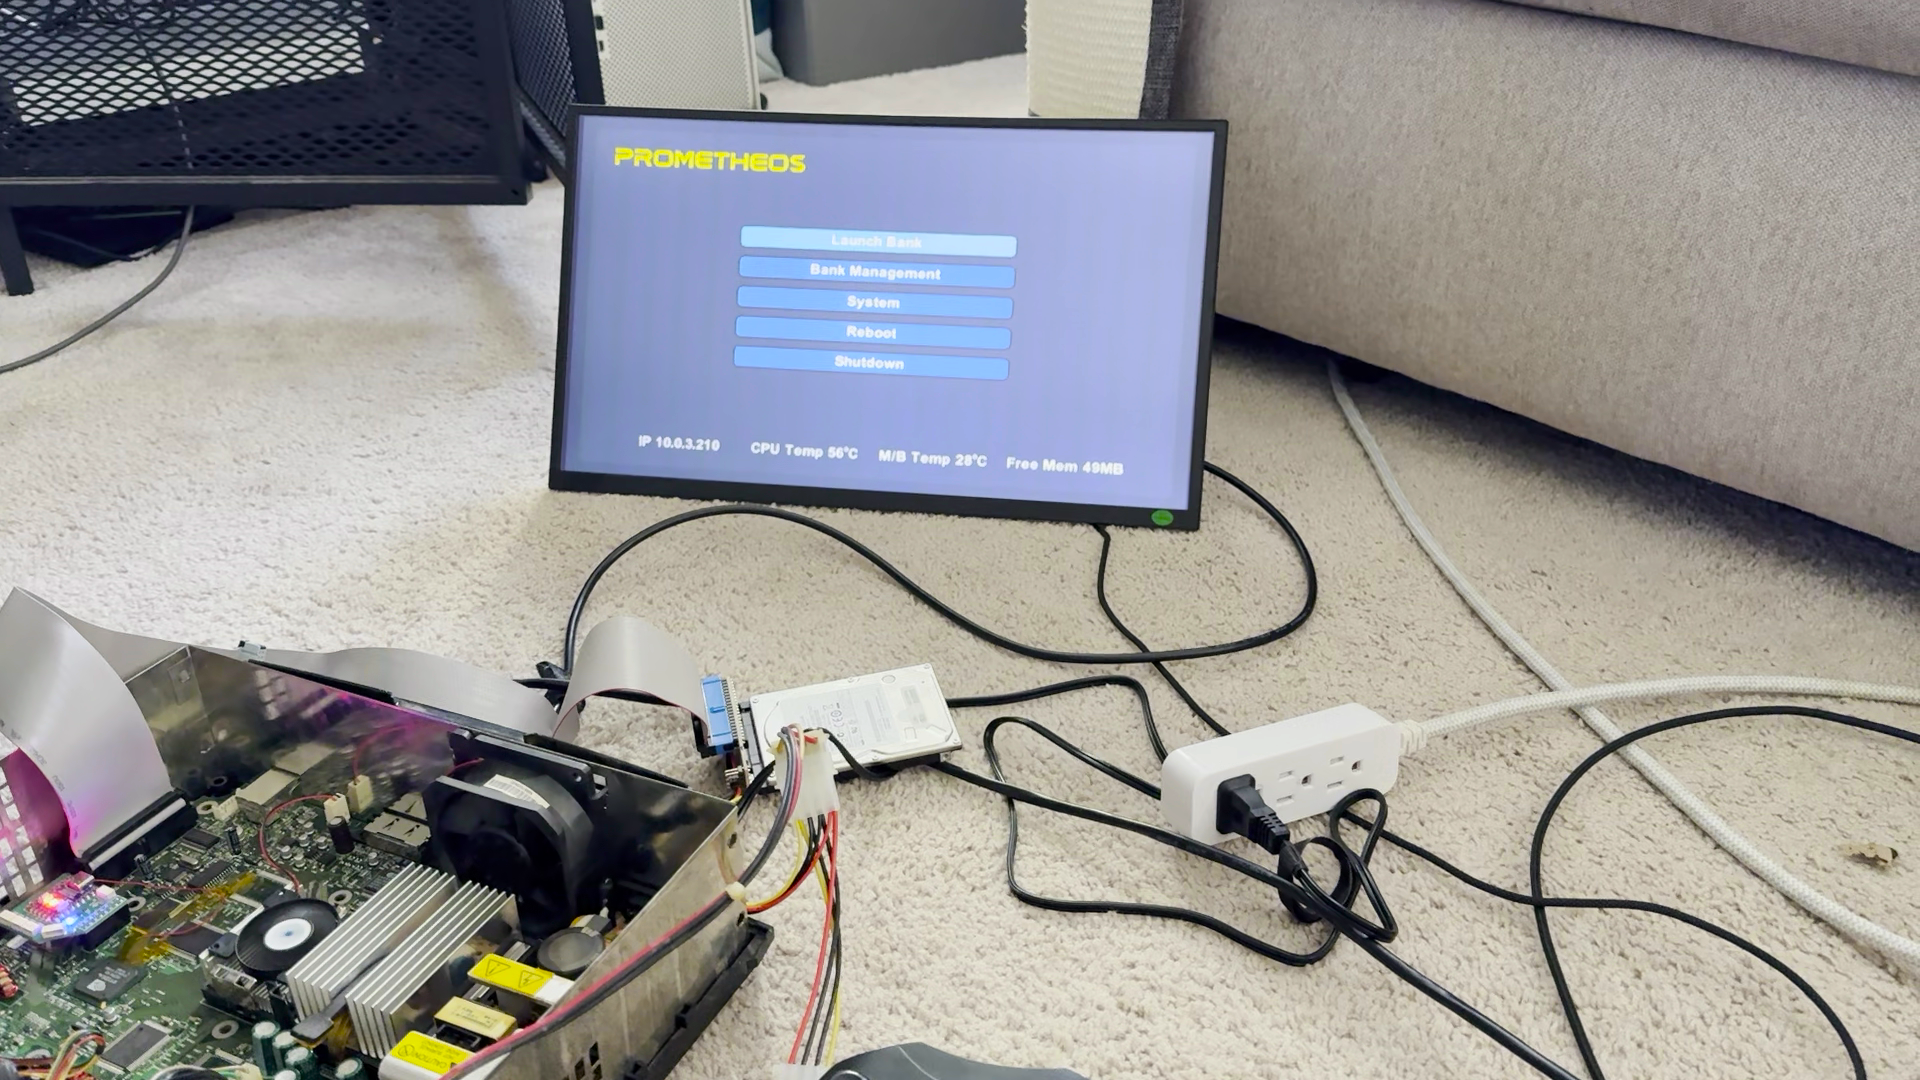
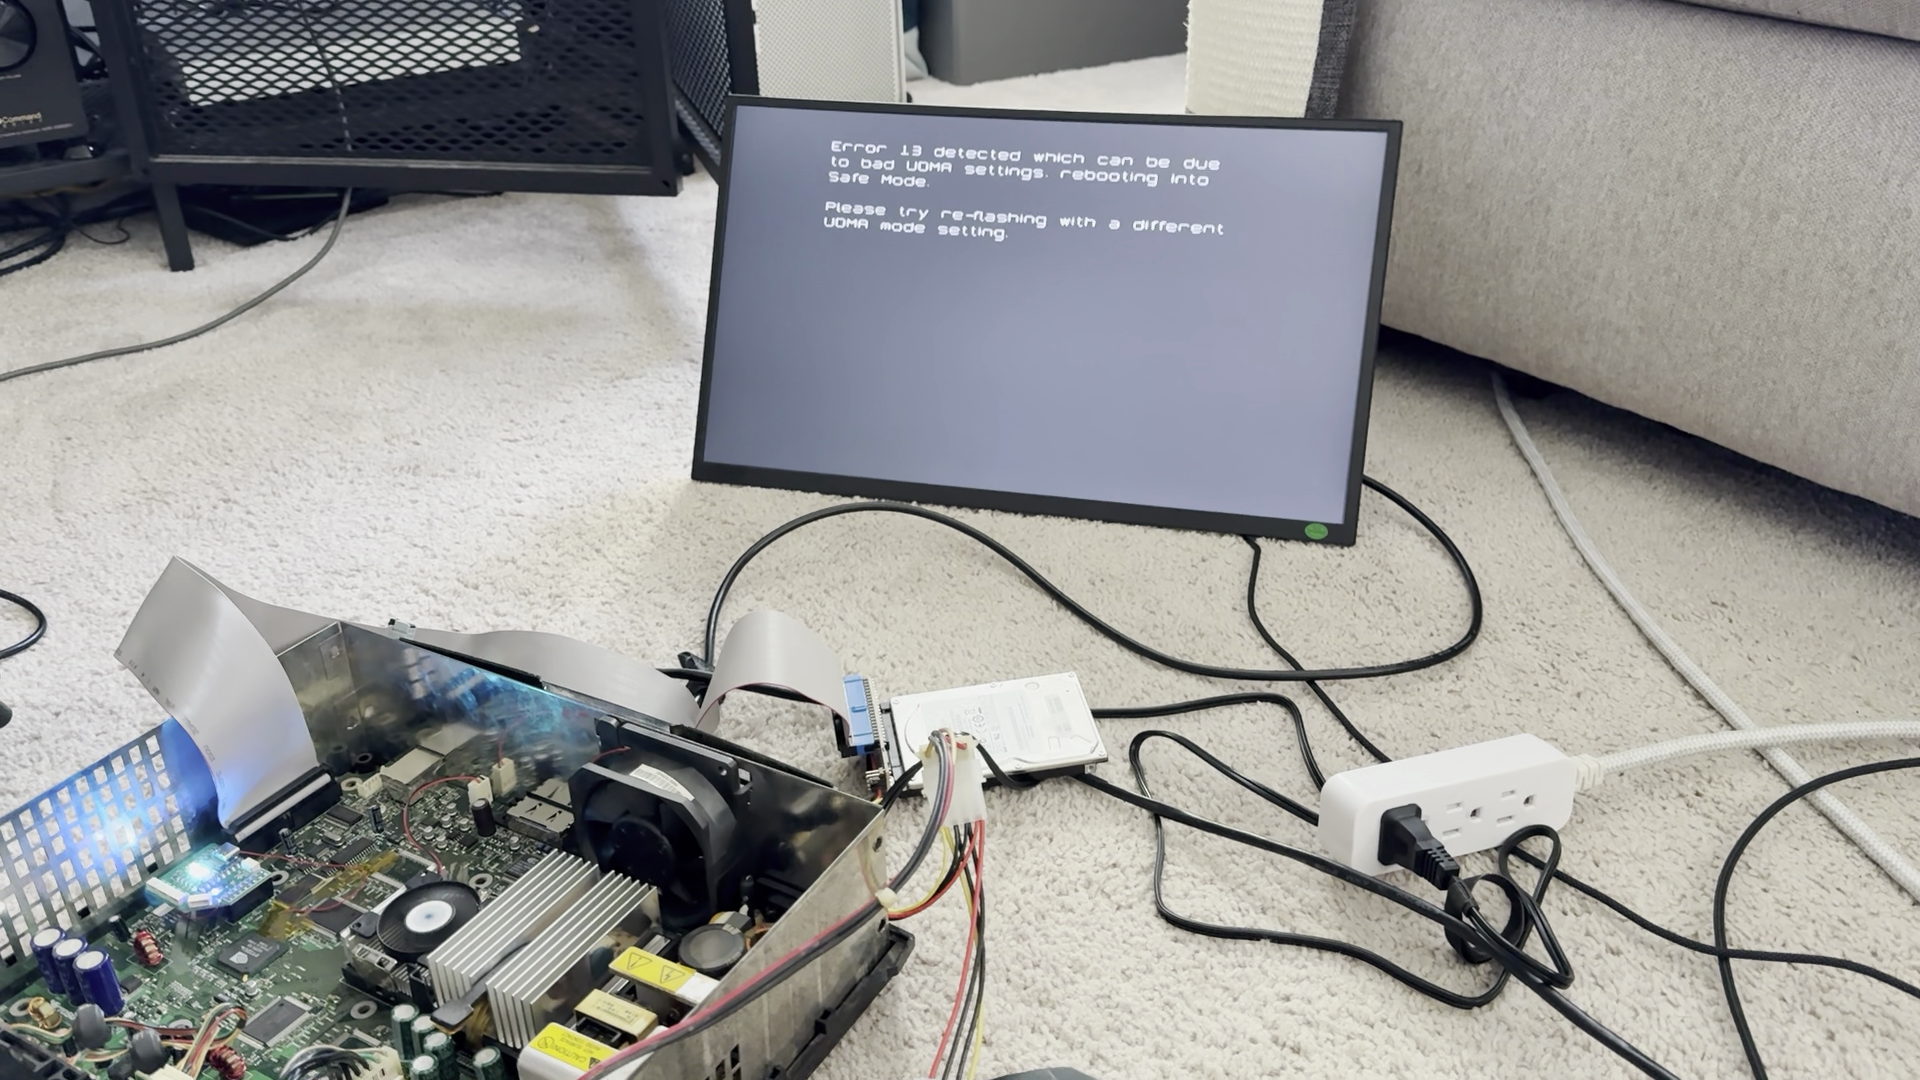
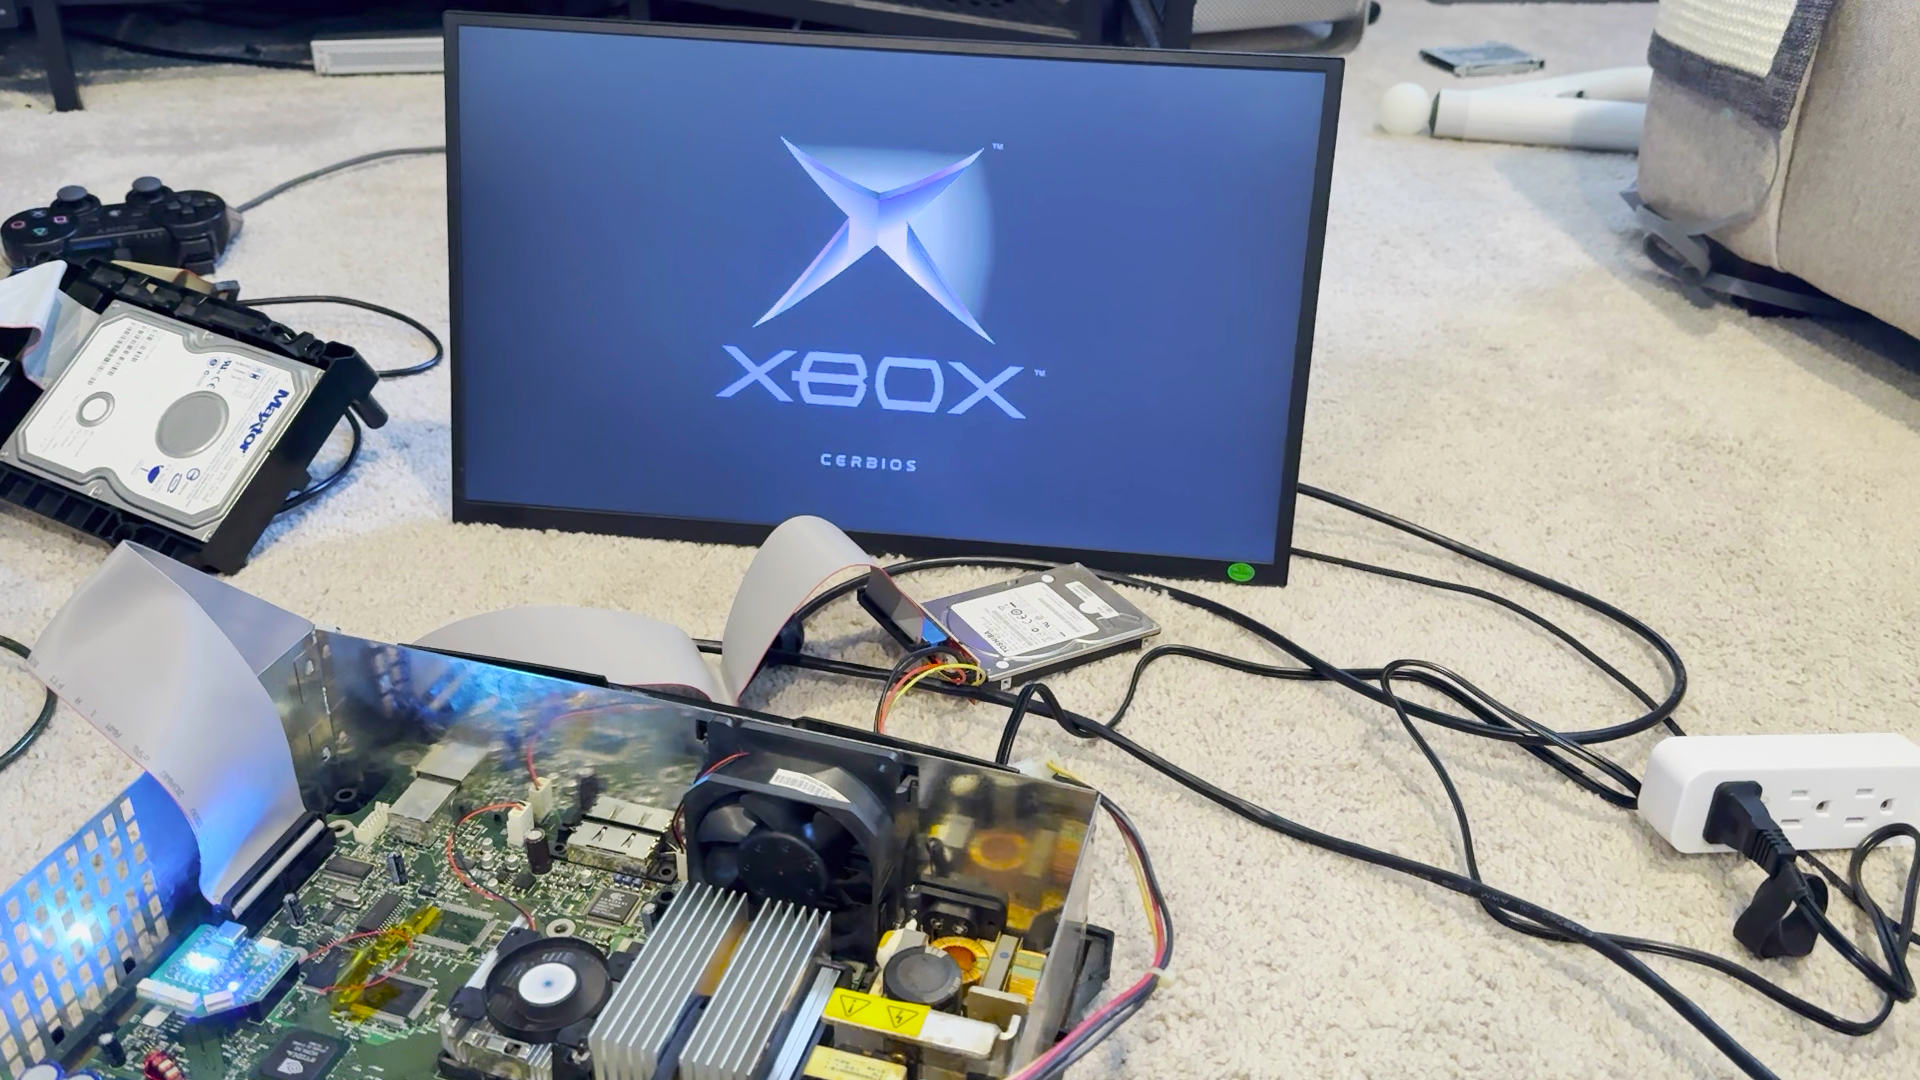
Several weeks later, I plugged the replacement modchip in the correct way. I didn't want to put a dead DVD drive back in there and thought maybe it'd be cool to see if there were any driveless enclosures people had designed to 3D print. There was a really cool one I liked on Etsy but it cost a pretty penny. Then I came across the devilishly simple "slimming" process that people have been doing to these consoles since time immemorial. This just struck me as such a goofy thing to do and really felt like it fit the early 2000's modded console aesthetic that I think of with early Xboxes so I decided to try it out.


The shape of the metal shielding in this console really reminds me of the silhouette of the One X and One S consoles, fun little detail.


I used my Ridgid 3" cut-off tool rather than a dremel to do this and it made very quick work of it. The cutting disc was still thin enough and the increased size made it a lot easier to follow a straight line than using a little Dremel to make the cuts.


I haven't even filed or sanded anything and it looks pretty decent put together. Pretty happy with that, actually.
I still need to put in a smaller fan that actually fits and make a mounting bracket for the 2.5" hard disk I'm
using.


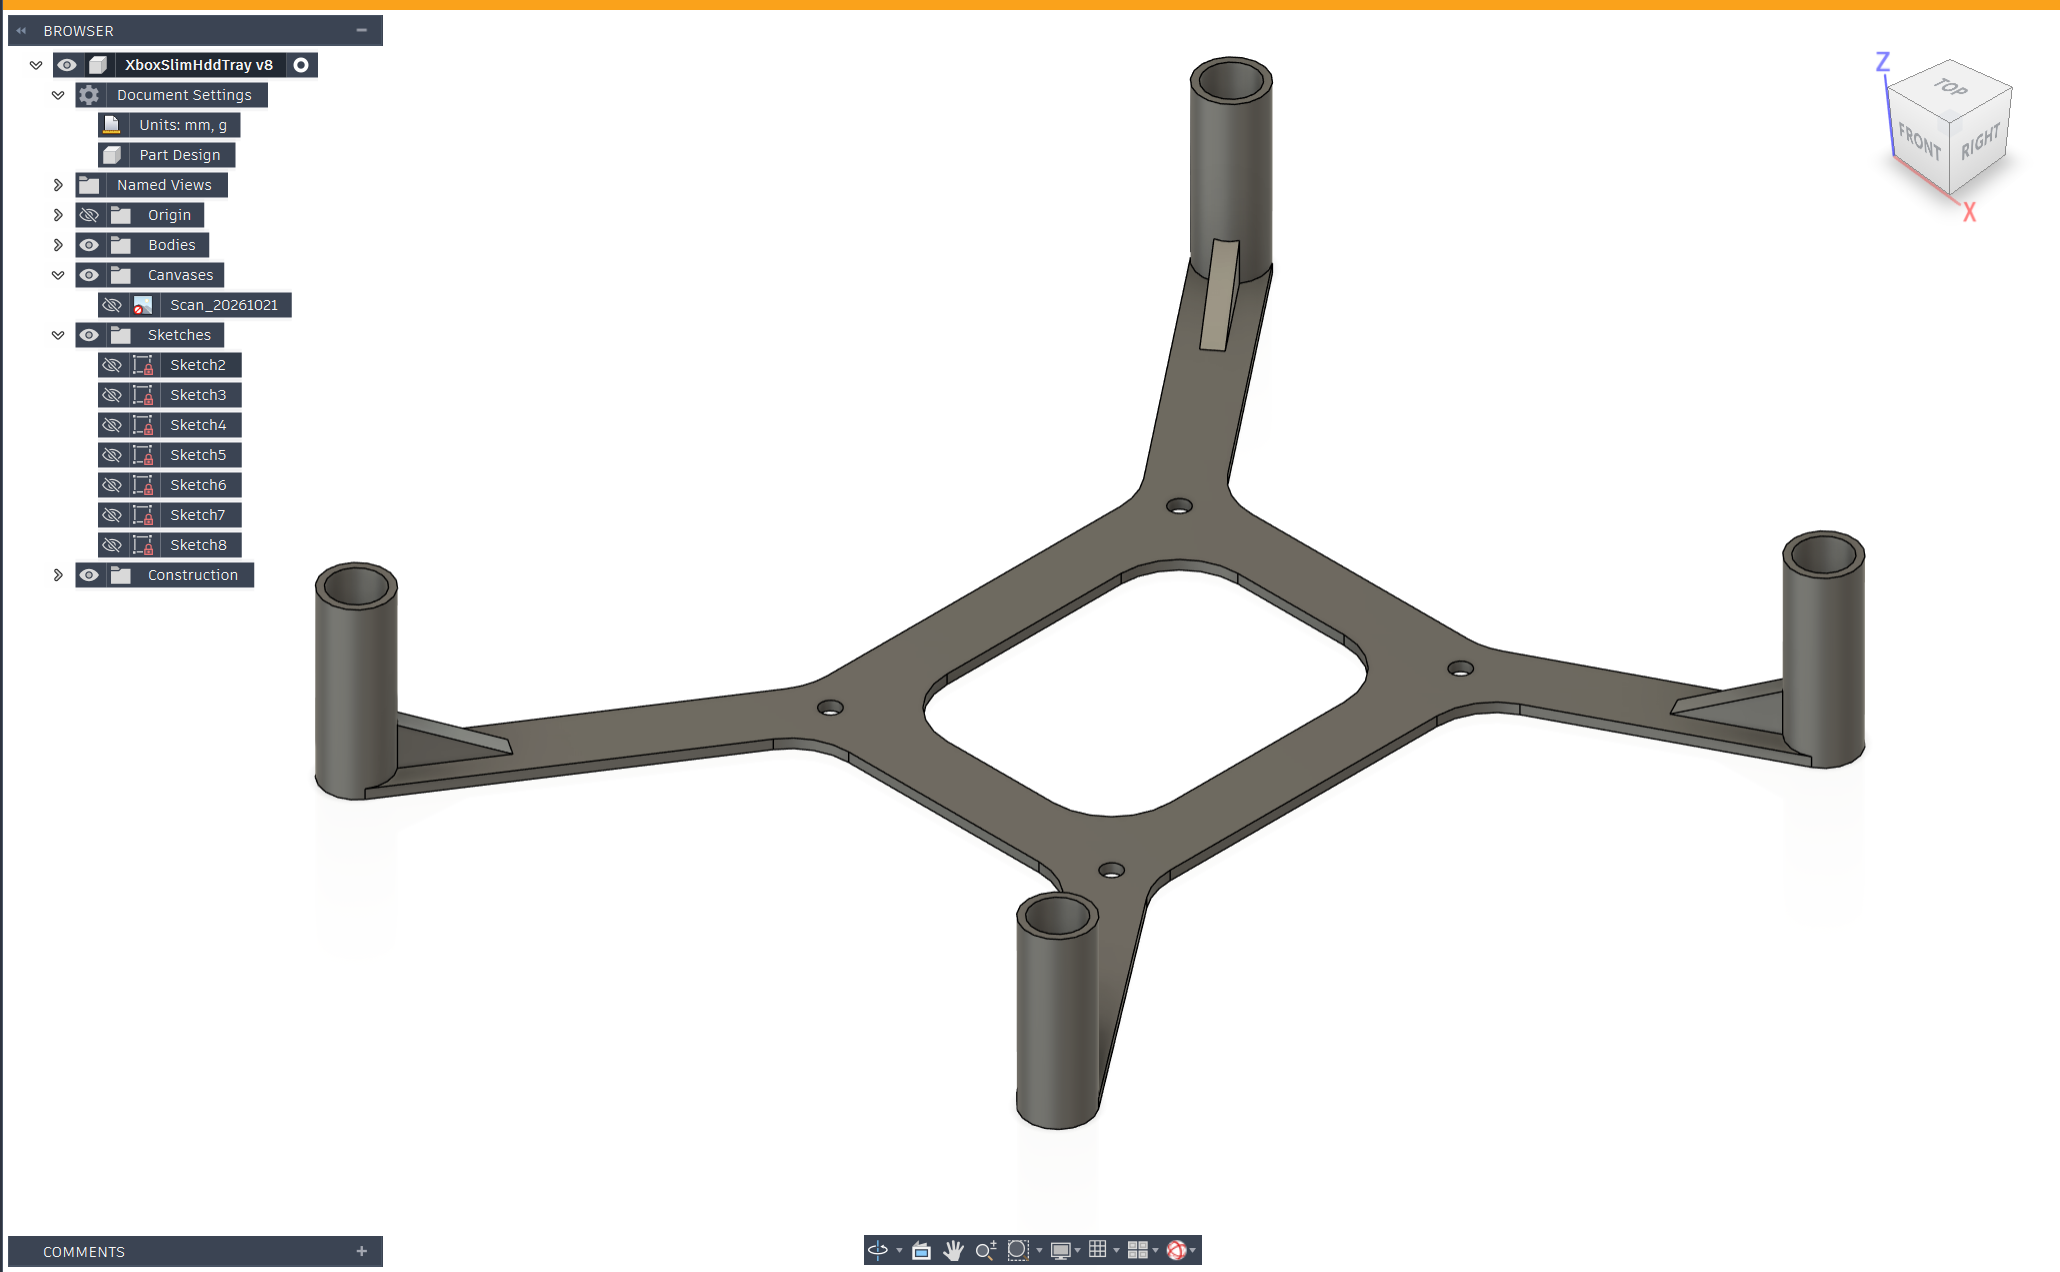
Took a few rounds of revisions to clear all the board components but I got the HDD snugly tucked between the modchip and GPU heatsink.
 Printables2.5″ Drive Bracket


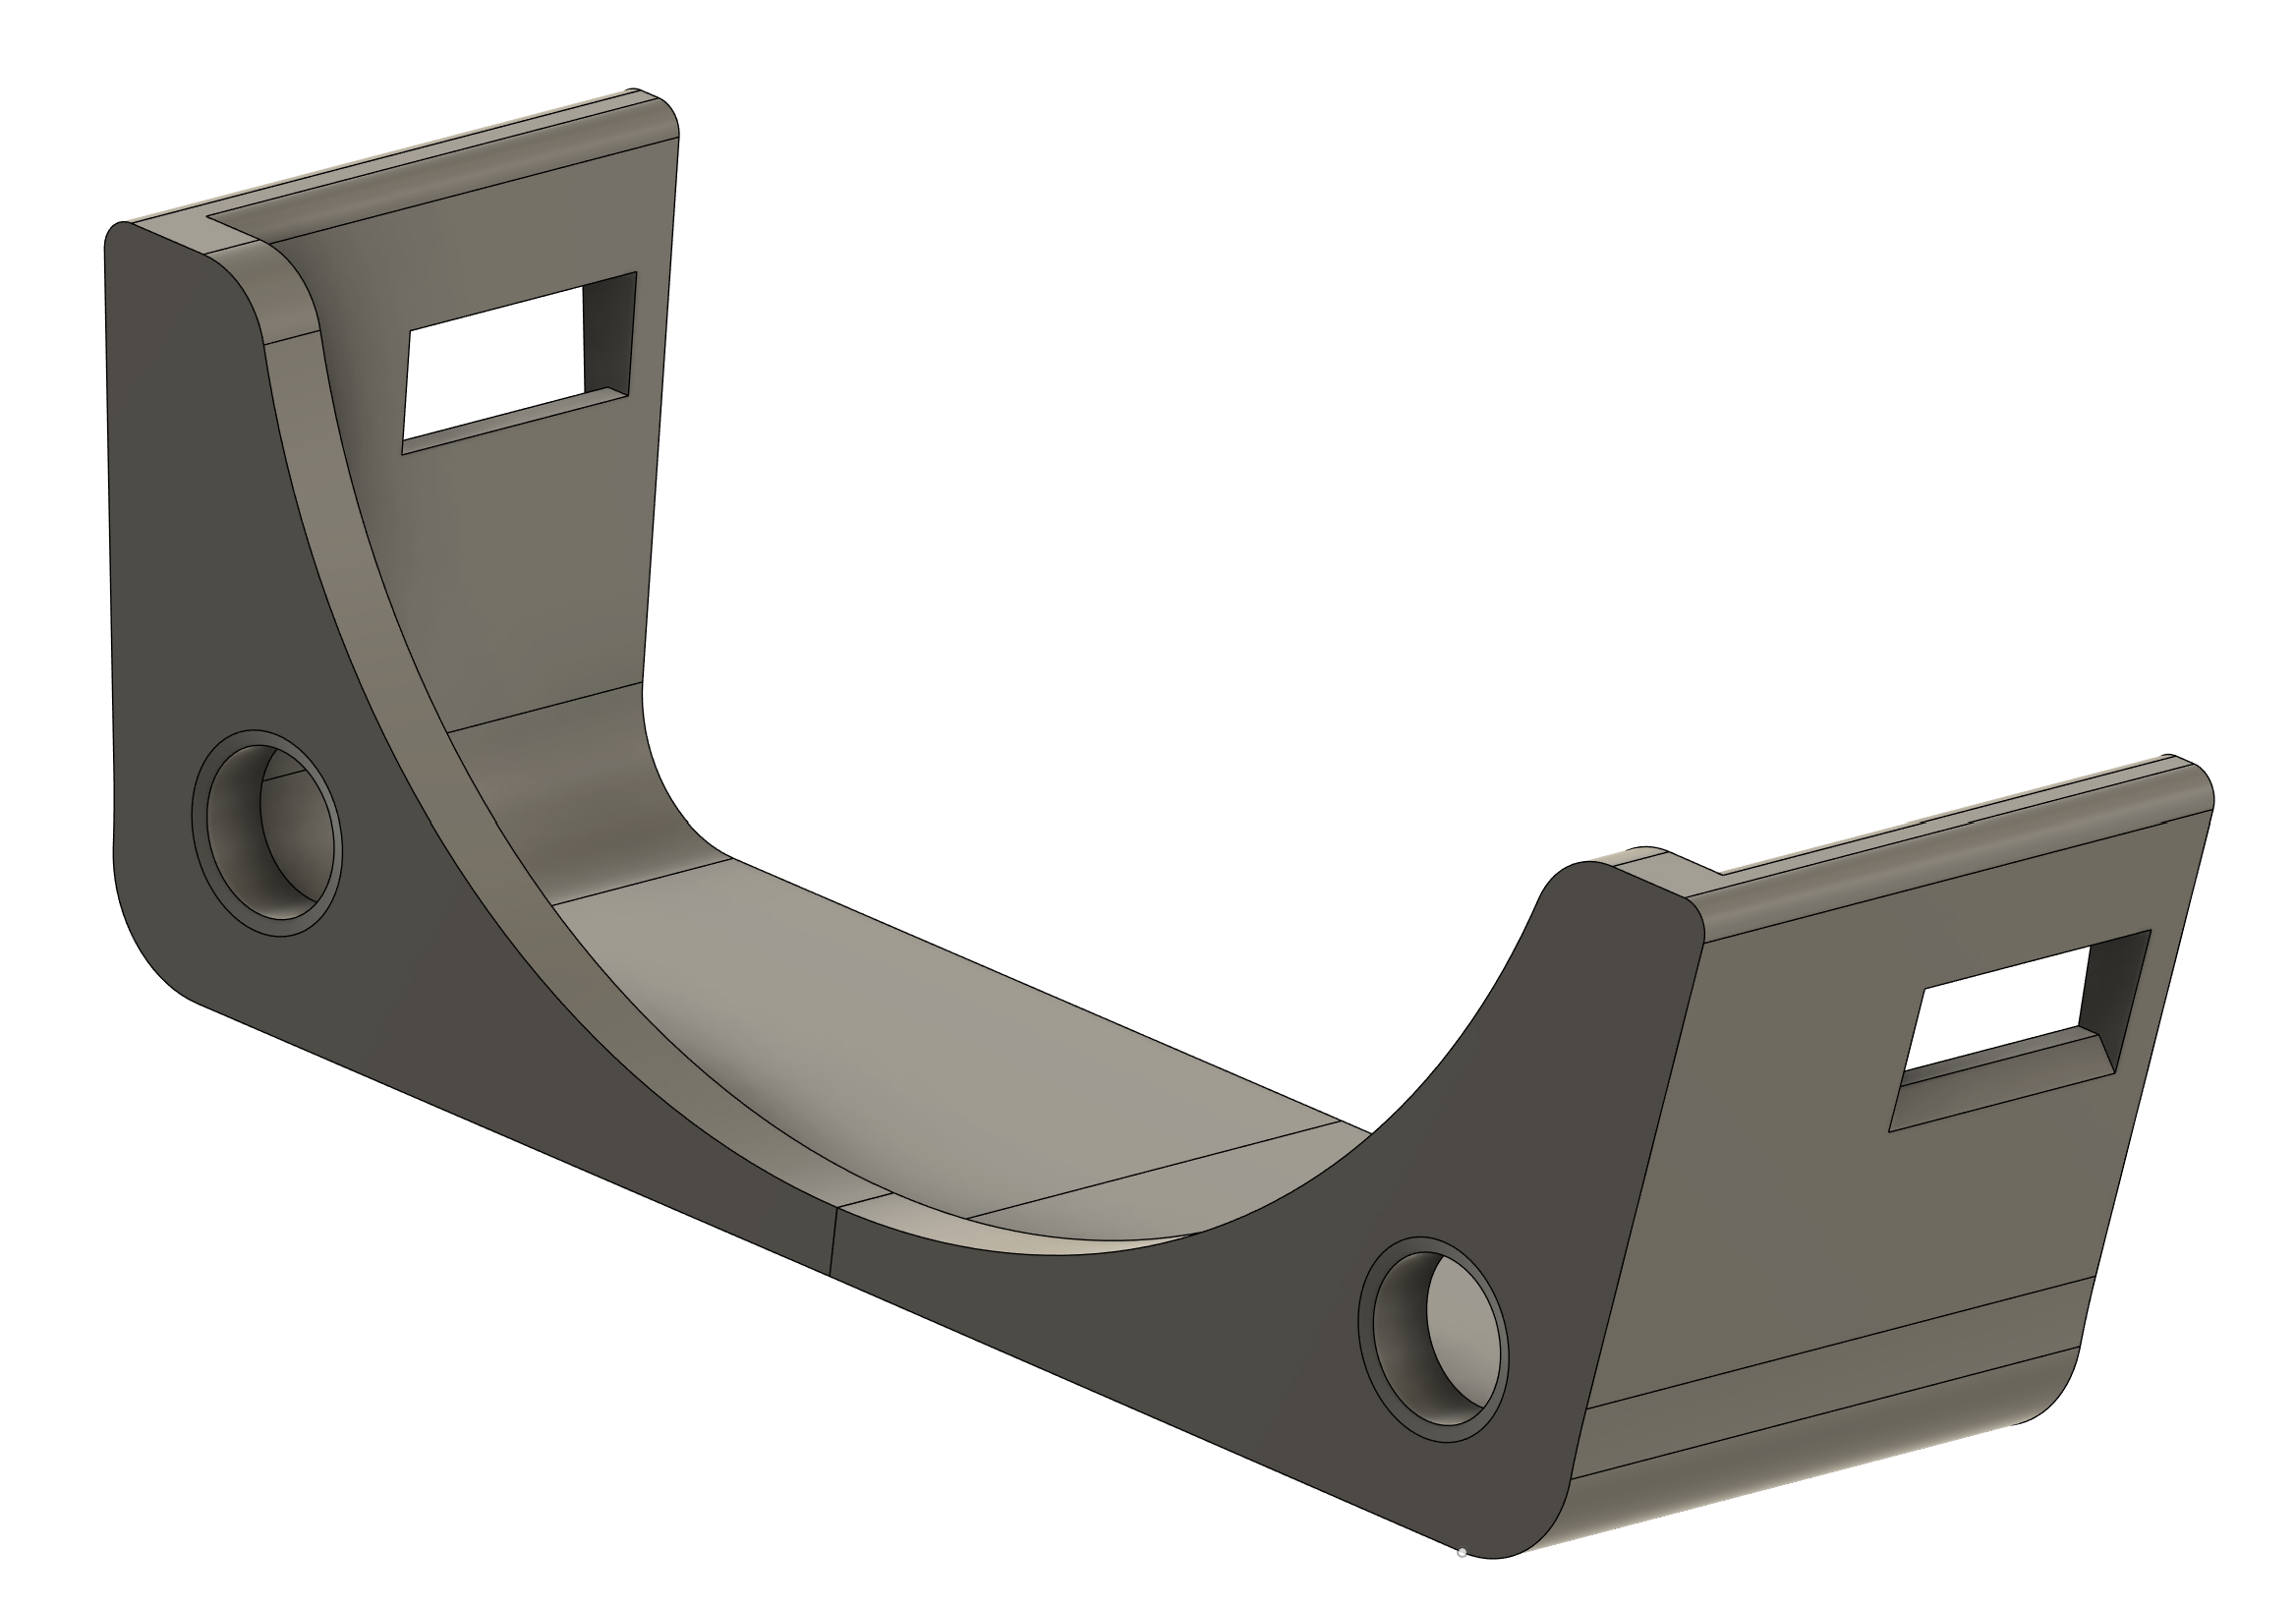
I made a slimmer version of a fan mount I found on Printables to increase vertical clearance a little with a Noctua 60mm fan.
PrintablesExhaust Fan Mount


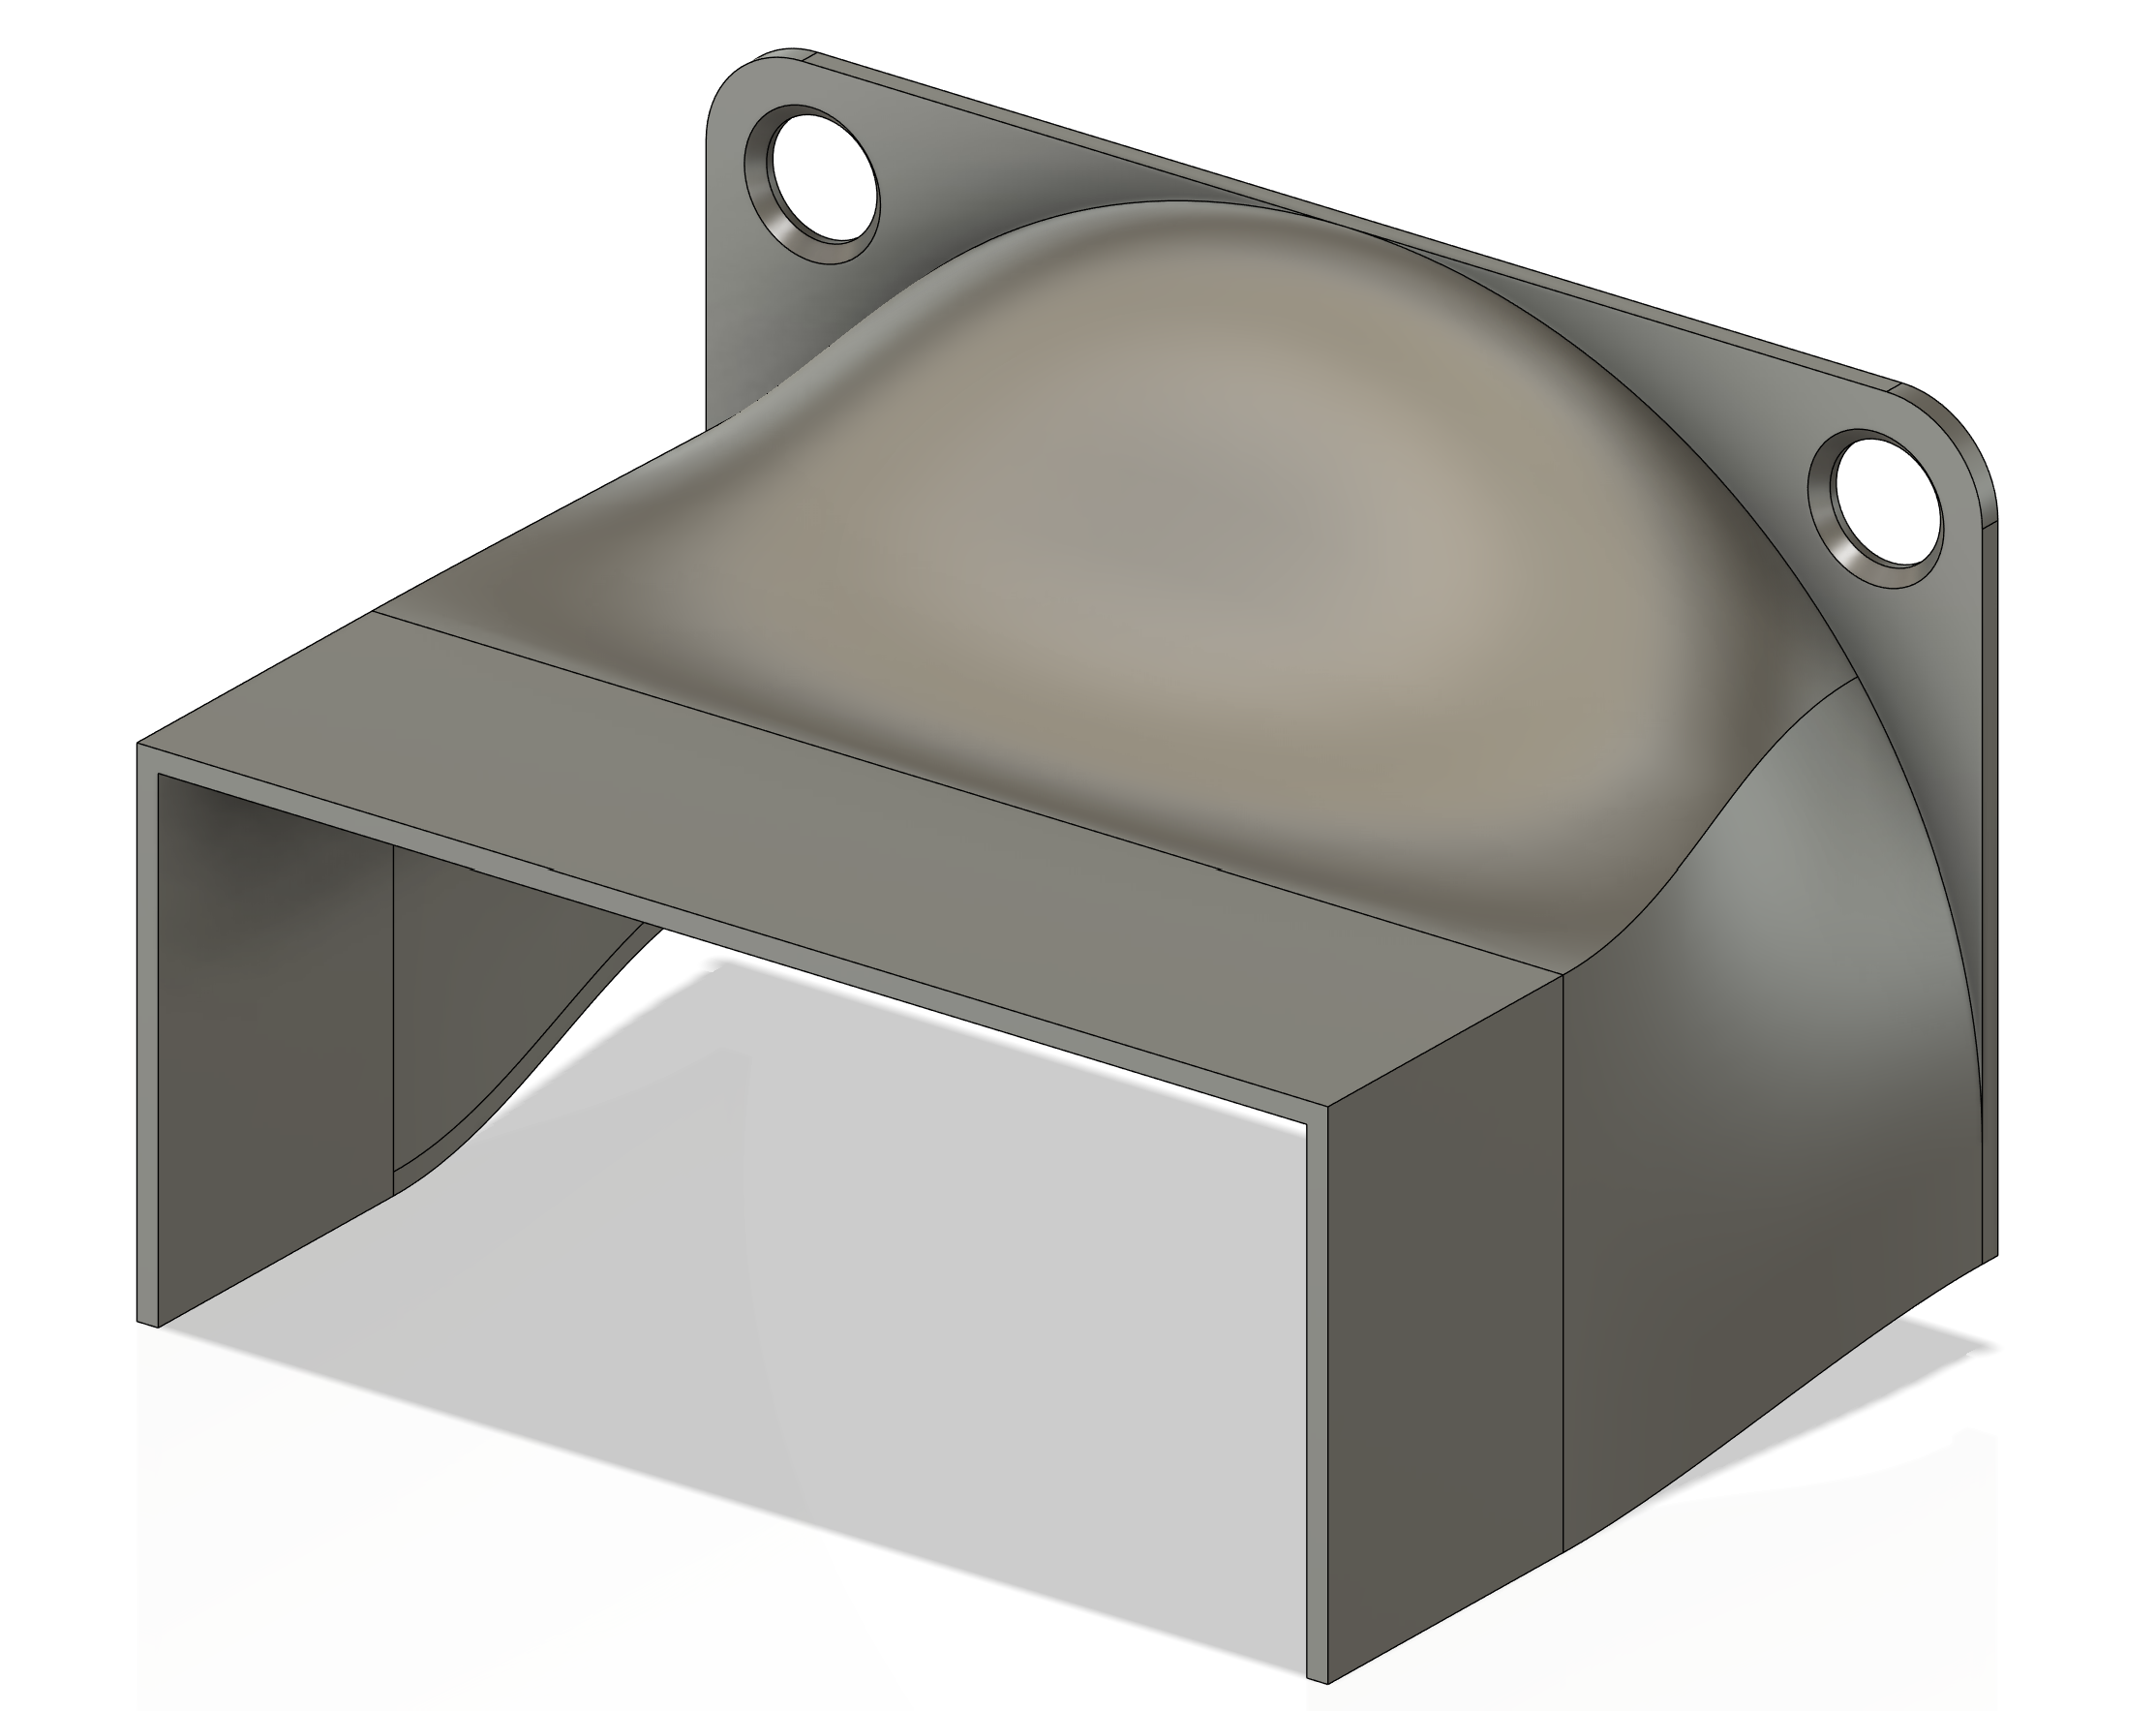
I also made a little duct to pull some more air through the CPU's heatsink. I tried not to go too far with it since there are other passive components on this board that will need cooling.
PrintablesCPU Heatsink Shroud
And that's everything buttoned up! This ended up being a very fun project indeed!